


For homeowners looking to expand their living space without the hefty price tag of an addition, the basement presents an often-overlooked opportunity. A dry basement that doesn’t suffer from moisture issues or flooding can be transformed into valuable bonus living space with relatively modest investment and effort.

The beauty of basement conversions lies in their existing infrastructure advantages. Most basements already benefit from the home’s heating system, with the furnace typically located in the same space. This means the foundation for comfortable year-round use is already established, requiring only proper insulation and finishing to create a welcoming environment.
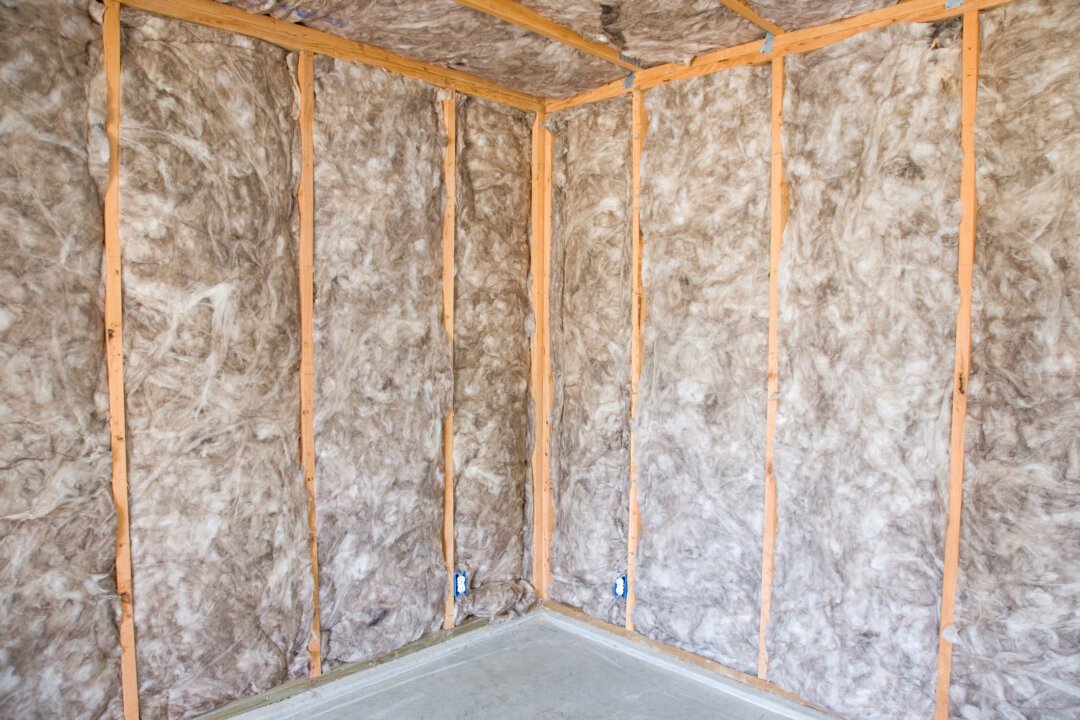
The transformation process involves three key steps: installing two-by-four stud framing to fur out the walls, filling the newly created cavities with wrapped fiberglass insulation, and completing the space with professional-grade wallboard installation. While the process requires dedication and skill, the financial savings can be substantial.
The Cost-Benefit Analysis
Professional contractors typically charge around $1,421 for a complete basement wall finishing project covering 600 square feet, including both labor and materials. However, homeowners with carpentry experience and the necessary tools can tackle this project independently for approximately $490 in materials alone, representing impressive savings of 66 percent.
This significant cost reduction makes basement finishing an attractive DIY project for those willing to invest their time and energy. The money saved can be redirected toward higher-quality materials, additional features, or other home improvement projects.
Essential Tools and Materials
Success in this project depends heavily on having the right equipment. For the framing phase, homeowners will need fundamental carpentry tools including a measuring tape, carpenter’s square, level, screw gun, and an adequate supply of wood screws. Precision in this stage is crucial, as it forms the foundation for all subsequent work.
The insulation installation phase requires specialized safety equipment and tools. A heavy-duty stapler with appropriate staples secures the insulation, while a protective mask and work gloves ensure safety during handling. Heavy-duty scissors designed for cutting insulation batts are essential for achieving proper fit in irregularly sized spaces.
The final wallboard installation and finishing phase demands additional materials and tools. Wallboard joint tape and compound are necessary for creating seamless wall surfaces, while sanding blocks, sanding sticks, and various grits of sandpaper ensure smooth, professional-looking joints. Quality paint serves as both protection and the final aesthetic touch.
Planning for Success
Before beginning this ambitious project, homeowners should honestly assess their skill level and available time. While the project is achievable for those with carpentry experience, it requires patience, attention to detail, and physical stamina. The reward, however, is substantial: a comfortable, energy-efficient living space that adds both functionality and value to the home.
Proper planning also includes ensuring adequate ventilation during the work process, particularly when handling insulation materials and applying finishes. Taking time to protect other areas of the basement and home from construction dust and debris will make the overall experience more manageable.
With careful preparation, the right tools, and realistic expectations about the time investment required, transforming a basement into finished living space represents one of the most cost-effective ways to expand a home’s usable square footage while adding long-term value to the property.


